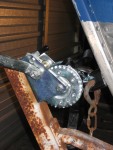
Well, I finally got around to putting some time into my boat. I spent all last week after work (when I didn’t have other stuff going on) working on Rex. Just about every night I was up until 12 or 1 working on it. I also spent a good amount of time this weekend getting stuff done. I would have liked to spend more time, but we volunteered sandbagging. That was fun in a way, and I’m glad to help out those folks. I’m hoping to get back out and volunteer this week too. Get some snacks and strap in for a long one, we got a lot to cover.
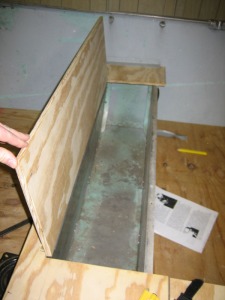
I changed my plans from the original (actually about 800 times). I decided not to take the seats all the way out because I didn’t want to put the time and money into making that work. So now I’m making new seats, adding a floor in the middle two sections and a floor that’s a little higher up in the bow of the boat. I’m also going to close off that front portion with a cabinet to store crap but mainly to have my battery in a safe place. I’m also going to make a little cabinet in the back seat and a full seat cabinet in the middle seat. I’m only doing those two cabinets if I can fit some foam under the seats to make up for the stuff I’m taking out. I think I will be able to.
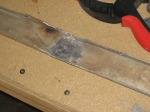
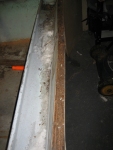
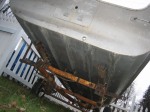
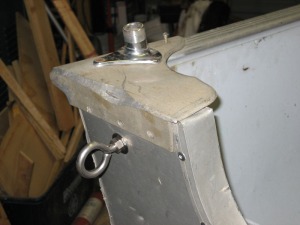
So first off, I posted on Freecycle for someone to do an aluminum weld to fix my transom that was cracked. After a while someone responded and welded it for me. He did a great job in the sense that it is welded together but there was a big blob on the back side of the transom cap. I had to take a grinder to it. I shouldn’t complain too much because it was free! The cap still isn’t pretty but it’s one piece now.
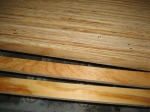
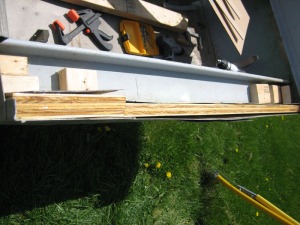
Next I started cutting my stringers. I know its probably not the best way to do this but since I’m trying to do it on the cheap and not waste a lot of material I decided to cut down some spare plywood that I have laying around. I cut them into two inch strips and decided to laminate them together. I know that they would maybe be a bit stronger if I flipped them on their side, but I like the idea of screwing them to the  deck and being able to screw in the face of the wood instead of between the plys. I originally thought I would do three strips laminated together so I decided to start glueing them together. After doing some research I decided to use a polyurethane glue. I don’t have a photo of what it is but you can buy it at most big box stores. So after I got these clamped up I decided to lay out the stringers on my saw horses and space them the way they would be in the boat. After I got them duct taped together for a temporary lamination and the floor sheet on I hopped up and stood on it. It was a lot more solid that I thought. When I started to tare the mock-up down I realized that I had only taped two layers together. Well, I was sold, it was strong enough with two layers. I guess it’s nice to save a little (very little) weight.
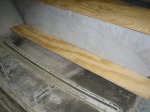 I got to thinking about how I was going to fit the floor in and measure out where my stringers and ledge
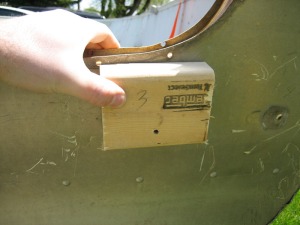
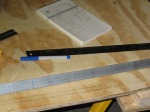 need to sit and I thought, “Why not use a smaller piece of wood?” So I cut a 6″ strip of wood to be the width I wanted and placed where I wanted. I got every thing measured up and figured out where the aluminum ledge needed to sit. So now, o
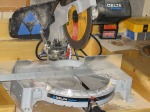 n to the aluminum ledge! I decided to try something out. I cut
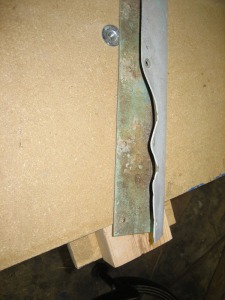
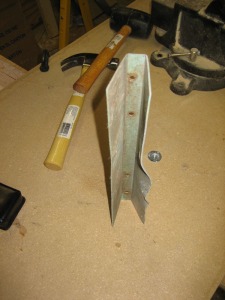
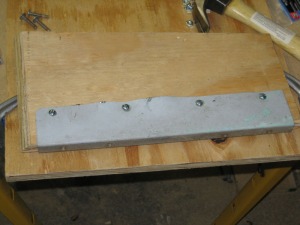
  1 X 1 X 1/8 aluminum angle into 3 inch strips. Then drilled some holes to get it ready to rivet to the side of the seat. I made a little template to set on the aluminum angle so that I didn’t have to measure out the the holes on each one. I just took a piece of duct tape and after I measured one out and drilled the holes I just copied that over to the duct tape and then copied that to all the pieces. I was nervous that all this stuff was not going to work but decided to take a chance.
 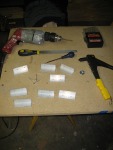 Here is everything cut, drilled and
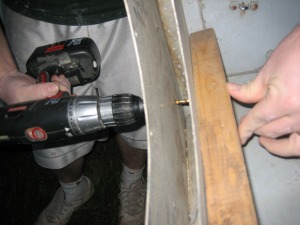
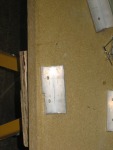 laid out ready to go. I started to test fit all the angles in. Since I wanted to keep my floor somewhat low in the boat I had to grind out some of the pieces to fit properly. After I got all the pieces ground out to fit and the holes drilled in the side of the seat it was time to rivet them in to place. After I
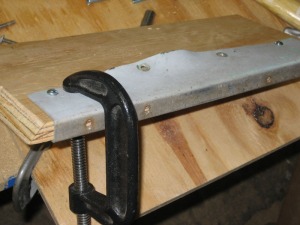
 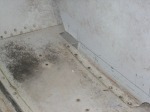 struggled with the rivet gun for a while, I finally got it to work. Here is the first
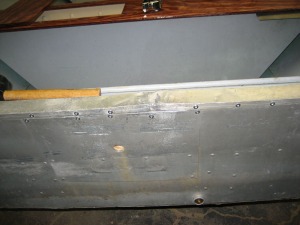
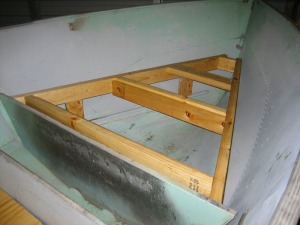
 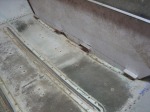 ledger put in. After some more struggling and banged up knuckles I got the first side done. All 4 of them! After I got the one side in I set in the fancy duct taped stringers to fit it up. Then started to level them and straighten them with some shims and a s framing square. I did that so I knew where to sit the other side ledger on the sidewall of the seat. Before I did that I
 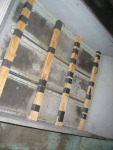 had to level the boat on the trailer. That was a pain. After some more work and a lot more measuring I got the other side of ledgers installed in place.
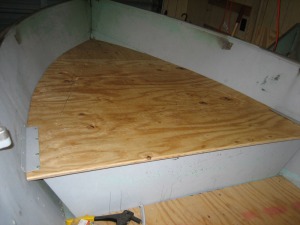
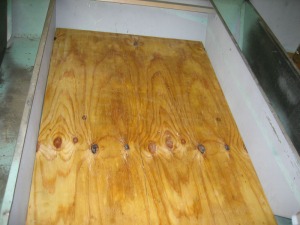
 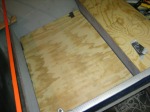 Finally I get to set my floor that I cut like three days before in place. I have to decide exactly how I want to cut the floor to fit. I think that in the end I should just leave it as is because it will be just fine, but I have a problem letting some things go. I spent some more time fitting the other seats I cut earlier in the week. I got all three in and called it a night. I had to go do some flood fighting anyways. Damn river!
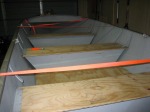
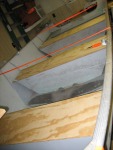
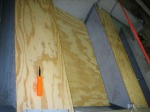
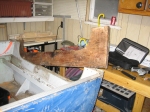
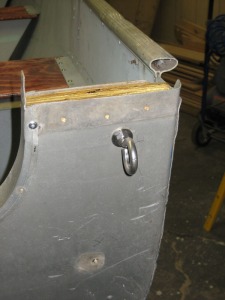
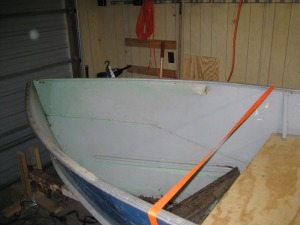
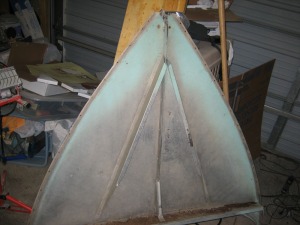
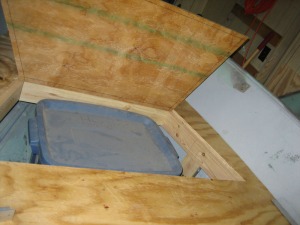
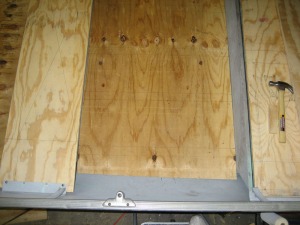
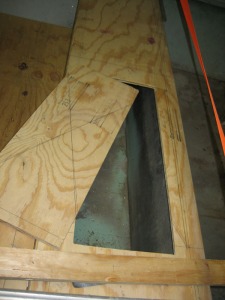
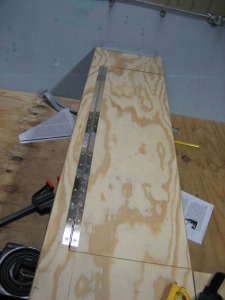
Here are a few of what I have done so far.
One of my next projects is to make a motor stand for this bad boy so that I can work on it. One of the 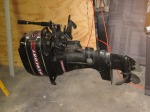 guys I used to work with is willing to help me change the fuel filter and clean out the carb. That will be an experience. I know NOTHING about small gas engines. Luckily he does.
Well, that is it for now. Hopefully soon I can get back to working on it, but with all this rain and snow, I’m more worried about the river knocking on my door than the boat so we’ll see how much I get done before next weekend. Its supposed to crest on Saturday I think, so hopefully I won’t have to worry after that. If you are in the Fargo/Moorhead area go out and sandbag. It’s not that hard of work and it will really help a lot of people out. Besides, its good Karma. Sorry about the picture placement, wordpress is just not cooperating with me.
 _____________________________________
 _____________________________________



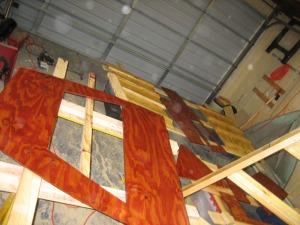
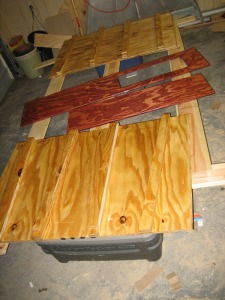
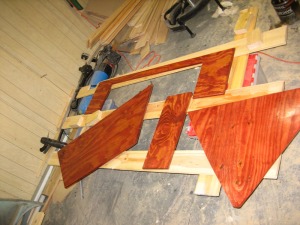
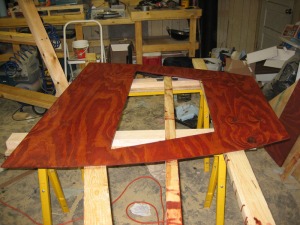
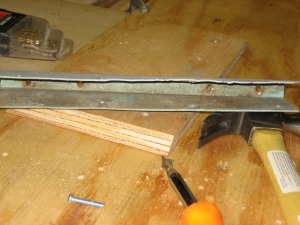



 deck and being able to screw in the face of the wood instead of between the plys. I originally thought I would do three strips laminated together so I decided to start glueing them together. After doing some research I decided to use a polyurethane glue. I don’t have a photo of what it is but you can buy it at most big box stores. So after I got these clamped up I decided to lay out the stringers on my saw horses and space them the way they would be in the boat. After I got them duct taped together for a temporary lamination and the floor sheet on I hopped up and stood on it. It was a lot more solid that I thought. When I started to tare the mock-up down I realized that I had only taped two layers together. Well, I was sold, it was strong enough with two layers. I guess it’s nice to save a little (very little) weight.
 I got to thinking about how I was going to fit the floor in and measure out where my stringers and ledge


